
Add User - Using the Add Wizard
Add Wizard can be found under the features menu on the left-hand side.
Person
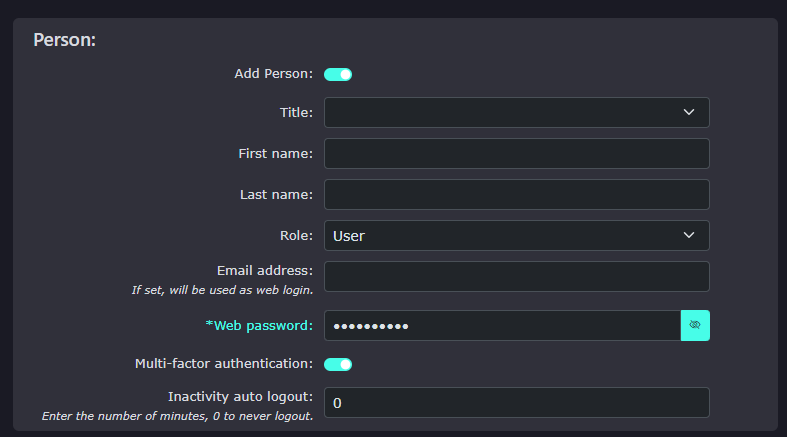
|
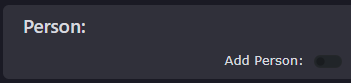
It is possible to use the add wizard to add just telephone extensions and mailboxes without associating a person with the extension.
However, adding a person's details to the extension enables better integration with the person you are setting up the extension and mailbox for.
|
|
|
|
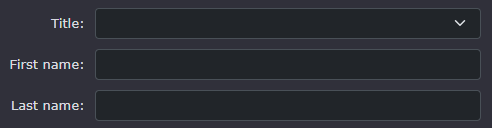
Add their title, first name and last name. This will also be used as the internal caller name to help identify a person calling extension to extension. |
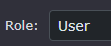
| Then add their role; most people will be added as just users. If they need more control over the portal, they can choose another role, such as Administrator or Manager. There are almost 40 roles to choose from. |
|
|
|
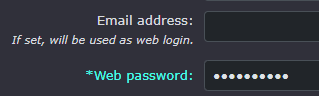
Add their email address and a password. The email address will be used to log in to the portal and, more importantly, to receive mailbox messages.
The password must be at least 10 characters long and entered. |
|
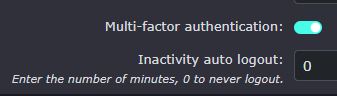
Switching on multi-factor authentication enables one-time passwords to be sent to the email address set in the user’s details.
You can also set how long the portal waits before automatically logging a user out, or choose to keep them logged in indefinitely. |
|
Extension
|
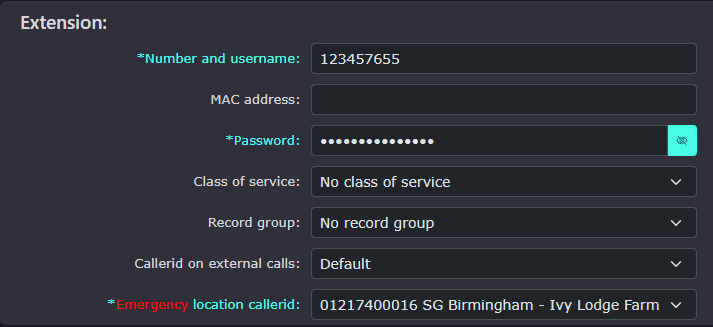
The extension's username will be auto-generated. It will choose the next avaiable number.
You can change the last 4 digits of the extension username, but the first 5 digits are fixed. This is the company prefix and is used to dial across the system if you wish to dial from one company to another. |
|
|
|
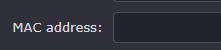
If you have a MAC code for the handset you wish to use for this extension, you can enter it here to enable auto-provisioning. |
| The extension's password will again be auto-generated and hidden from view. If you wish to make a note of the password, then click on the eye icon to show the password |
|
|
|
Class of service controls call costs; by default, it is set to no international or premium-rated calls. This is to help save costs and prevent fraud.
You can change it if you have set another one, or remove it entirely. Do this with caution. |
| This option will only appear if you have a call recording group enabled. You can choose to add this extension to any available record groups. |
|
|
|
Caller ID can be set here or left as the company default. This will probably be the main outbound caller line ID.
If you have already added telephone numbers to the system, you can assign a number to this extension here. |
| Emergency location callerid needs to be set up first under numbers. If this is already completed, you can choose which site the telephone extension is located in and allocate the correct location. This is important to complete, as it gives the emergency services a better understanding of where the call originated. |
|






Mailbox

| The mailbox number is normally allocated the same number as the extension number. It is possible to change it but not recommended. |
|
|
|
The PIN is required when calling in from a remote location other than your handset. Your handset will auto-connect without a PIN when you press the message waiting button. |


MobeX App
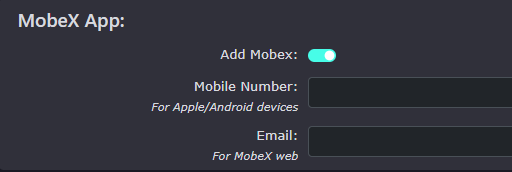
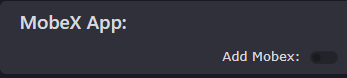
| By default, adding MobeX is switched off. Switch the toggle switch to enable the MobeX service. |
|
|
|
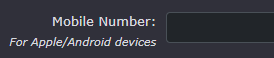
Add the user's mobile number to enable the MobeX + smart mobile app. Once entered, you click save. The user will instantly receive an SMS message guiding the user to the correct store to download the app. |
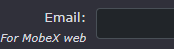
| Entering the email address will instantly activate an email to the user with instructions on how to get started with the MobeX web browser app. |
|
Numbers
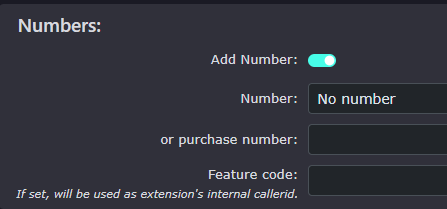
|
By default, adding a number to the wizard is off. Toggle the switch to add numbers.
Note: If you haven't already purchased numbers. There may not be any for you to choose. The best way to add new numbers is via the numbers page under features, then numbers. |
|
|
|
You can enter a number here from a valid number range within the system, and it will allocate it if the number is available |
| You can also set a feature code for the extension. This could be useful if you want to use smaller-sized extension numbers. Since default extension numbers are 4 digits, if you wanted to make extension 1000 be 100 and 1001 be 101, the feature code is a great way to do this. |
|


