Begin a new port
Number porting can be found under Commerce, and then select the Number Porting tab.
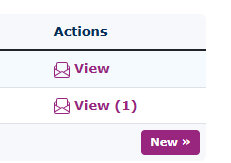
| To initiate a new number port, select the "New" button located at the bottom right-hand side of the page. |
|
|
|
|
|
|
|
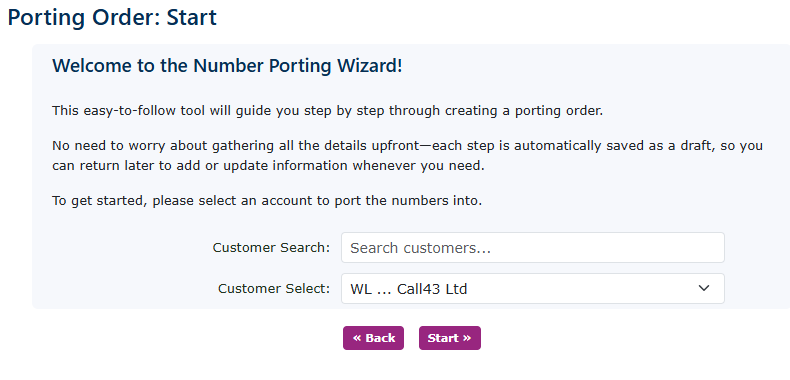
| Ensure that you have loaded the customer on the portal first, including all address details. It will make it easier to begin your port. Search for the customer you wish to port the number for or select from the drop-down box. Then click start. | |
|
|
|
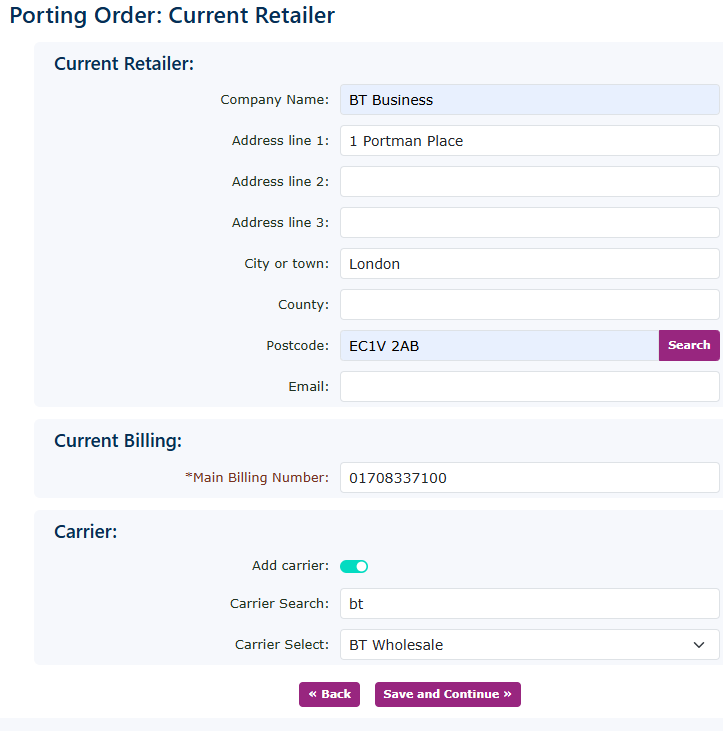
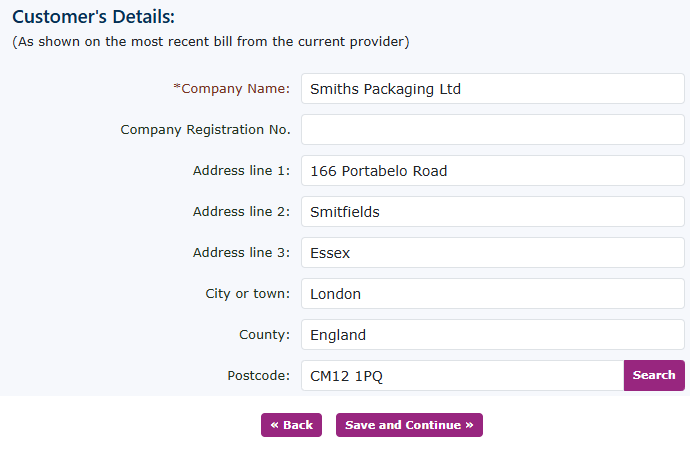
| Complete all the current retailer information. Add the main billing number. If you have the information on the cattier, please add that to it, as it will help with the acceptance of the port from the losing provider. Click save and continue. | |
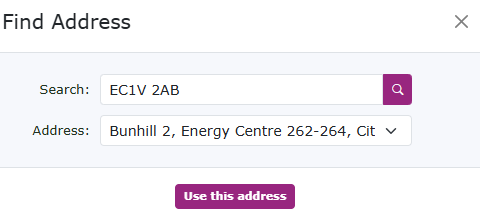 |
If you need help finding the address, use the search option on the postcode to try and find the correct address. |
|
|
|
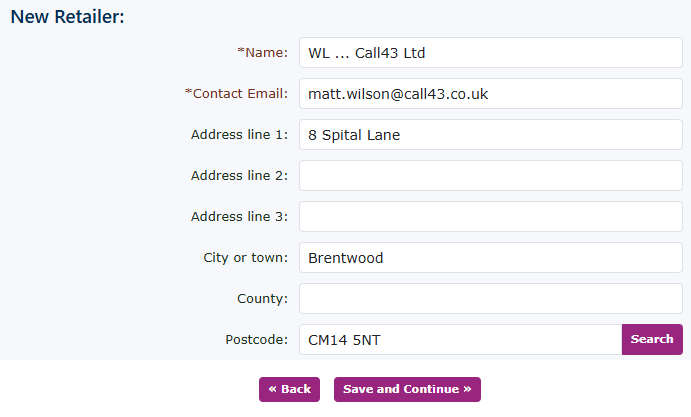
| If you have already completed all your details in your own customer record. This will self-populate. If not, complete all the boxes for your address. Again, you can use the search option on the postcode to find the address (I would hope you know it). Click save and continue. | |
|
|
|
| Populate all the customers' details here. If you have completed this for the customer record, it will self-populate again. If not, please complete all the required boxes. You can, of course, use the search box to find the address. Click save and continue. | |
|
|
|
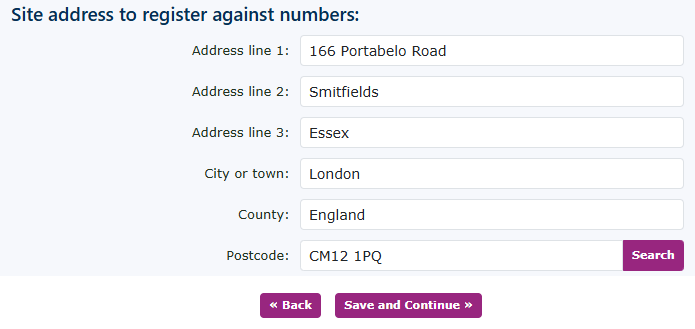
| Complete the site address for these numbers you are porting. If you are porting numbers for another site, create a separate porting request for the different site. Once completed, click Save and Continue. | |
|
|
|
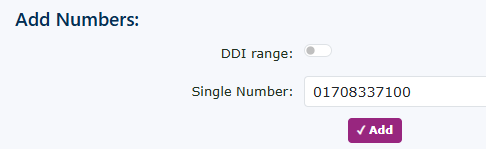 |
You can add the main billing number first. Then you can add all the extra numbers you wish to port for this site address.
Keep in mind that it makes porting much easier if you submit port numbers from different carriers on separate porting requests. |
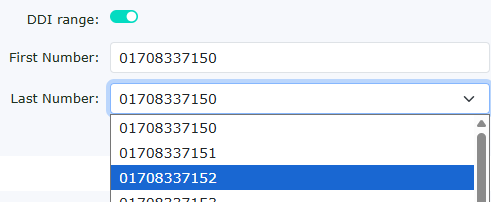
| When adding numbers to the portal, please ensure that you include all numbers and double-check that they are accurate. If there are numbers on the current provider's bill or services you are porting in that you do not require to be live in the portal, please unselect any that you do not need to be live now. This could be any number, including those not required from a DDI number range. The numbers will be reserved in our portal for any future allocation to this customer. Other customers in the portal will not be able to allocate these numbers. | |
| You can tick the DDI range option to enter a full DDI range. |
|
|
|
|
|
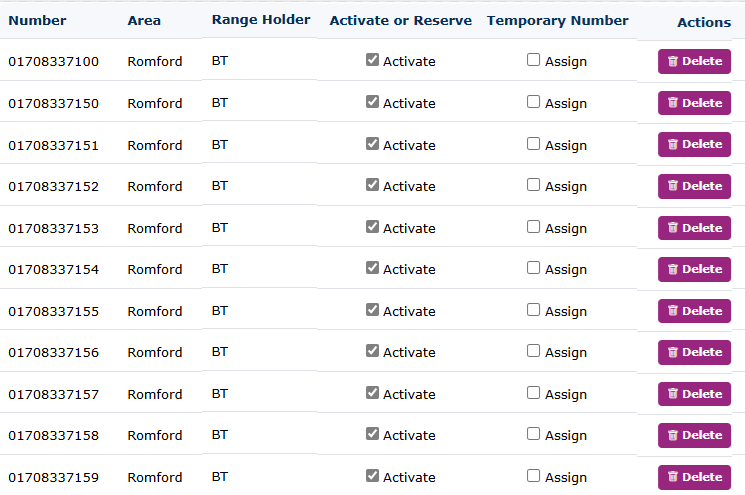
Once you have entered all the numbers you wish to port for that particular site, you can now decide whether you want all the numbers to be activated and if you require a temporary number to point the old number to while the process takes place. Untick any numbers you wish not to make live on the portal. Select any numbers for which you require a temporary routing number.
You can also delete any numbers from the list if they are wrong or you do not wish to port them in. Don't forget to save and continue. |
|
|
|
|
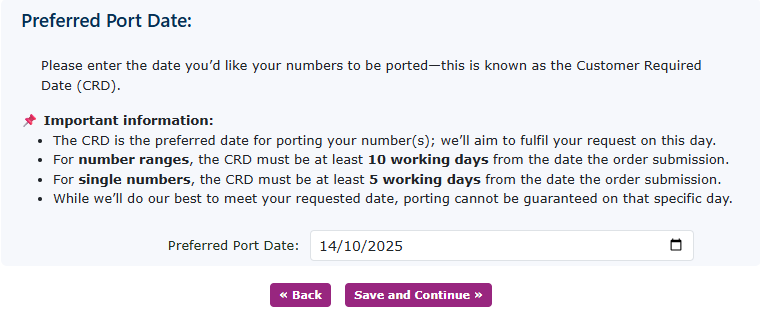
| Please select the preferred port date. There is a recommended minimum date to ensure the port flows smoothly. There is some information above that should be taken into consideration. | |
|
|
|
|
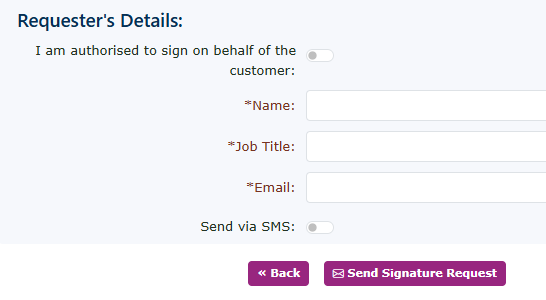
You need to get the customer to sign the porting request. Complete their details, and an email will be sent to them with a link to follow to authorise the port. You can also send the customer a link via SMS.
If you are authorised to sign the letter on behalf of the customer. You can select this option at the top. Be warned, some losing carriers request a copy of the Letter of Authority (LOA) and will not accept the signed document from the new supplier. If you wish to sign, then fill in your details at the top and sign the document. |
|
|
|
|
|
|
|
|
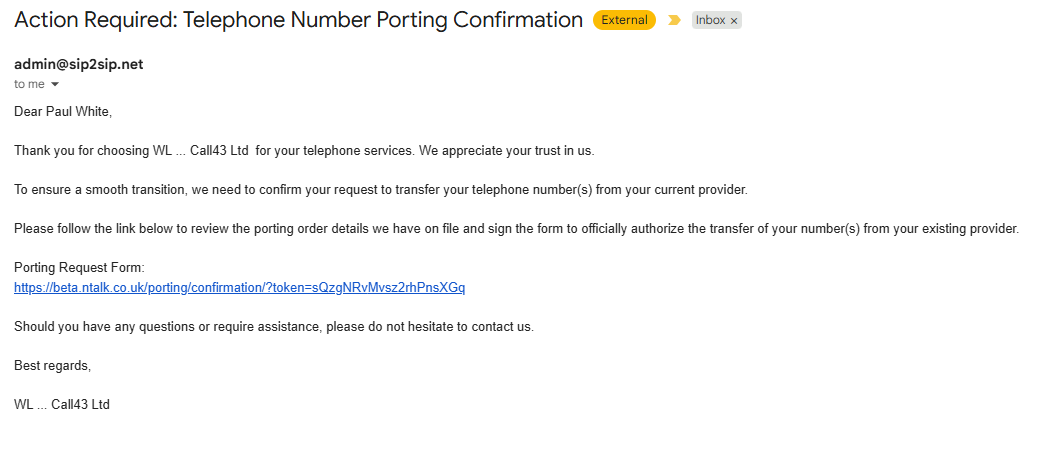
An email like this will be sent to the customer, prompting them to follow the link. This will be in your brand. |
|
|
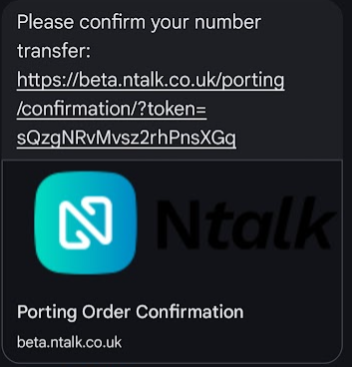
If you sent a text message, this will be sent out and look similar to this, but in your brand. |
|
|
|
|
|
|
|
|
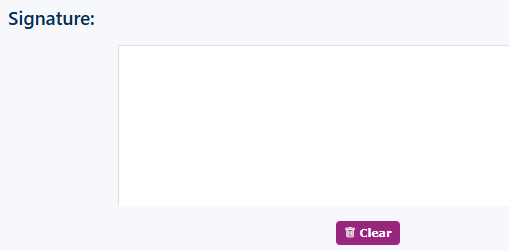
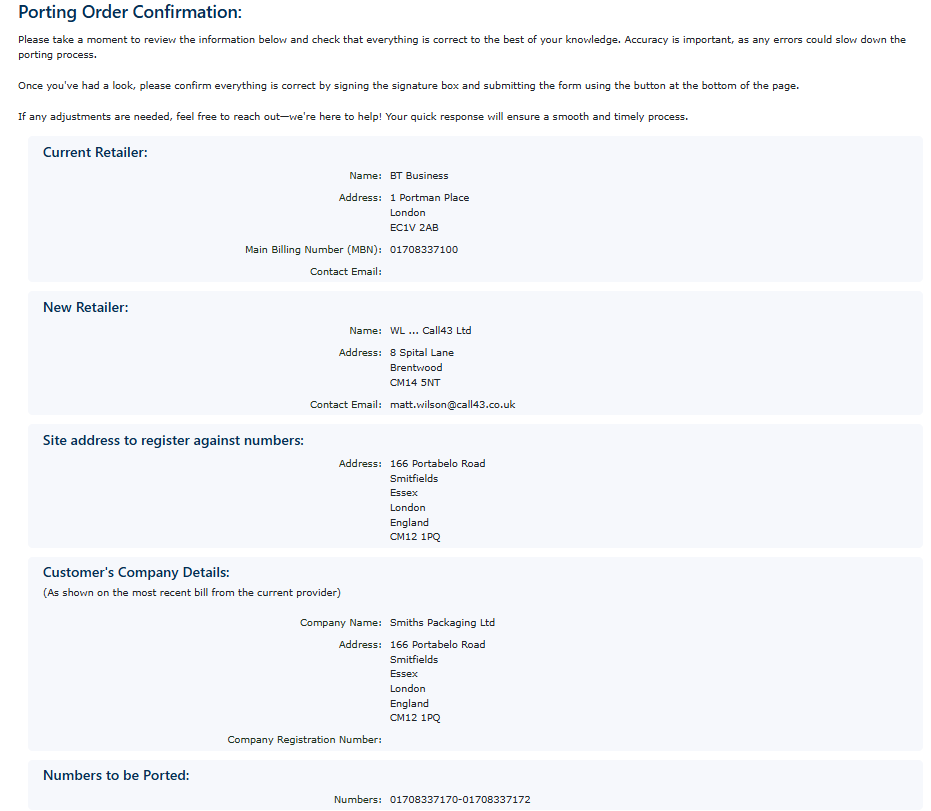
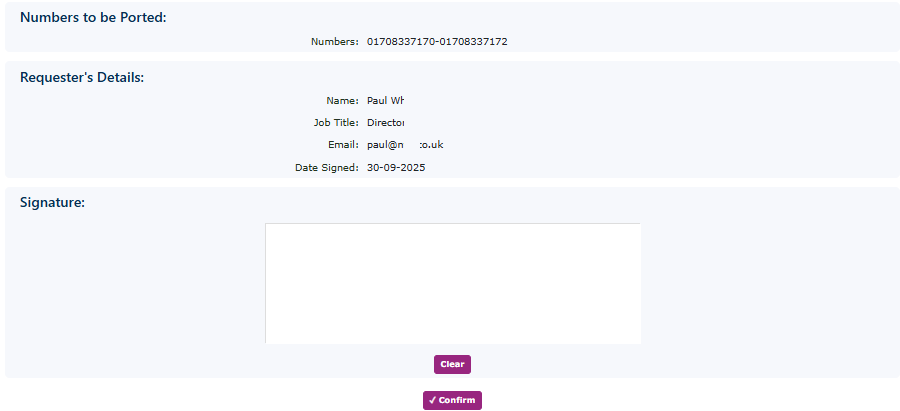
This is the porting 'Letter of Authority' Form that you have already completed, which only requires your signature. |
|
|
|
|
|
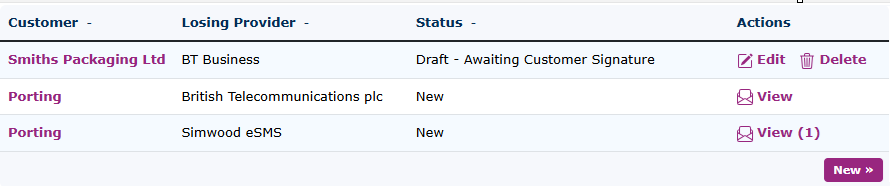
From the main page of number porting, you can see the status of the ports. You can see that 'Smiths Packaging' hasn't signed the port yet. |
|
|
|
|
|
Once the order has been signed, you will see that in the status bar. You can then click on this to place the porting request. |
|
|
|
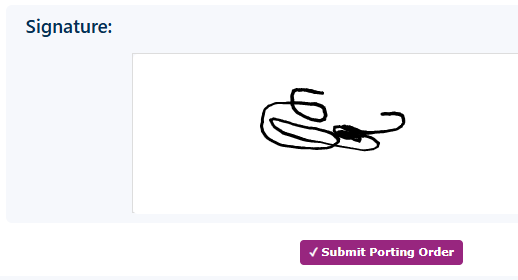
It takes you to the signed LOA for you to check. You can then click on the 'Submit porting request'
Now the port will progress along the usual channels.
|
|
|
|
|
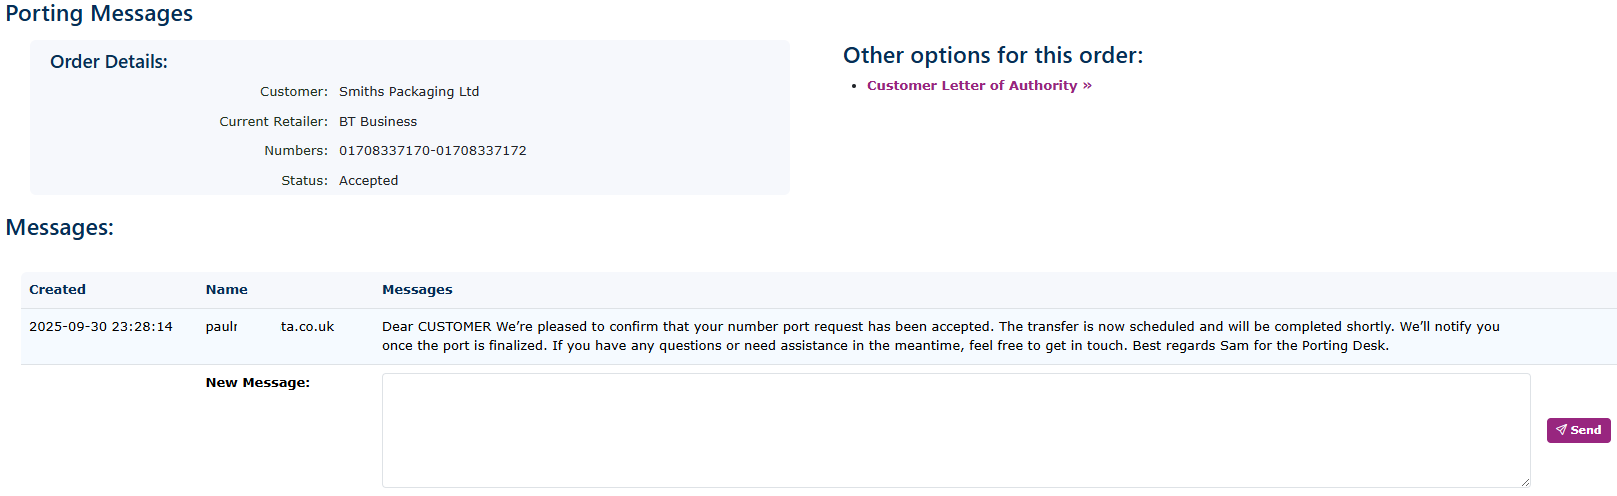
As the orders progress, you will get regular updates on the process. You can message the porting team with any additional notes. |
|
|
|
|
|
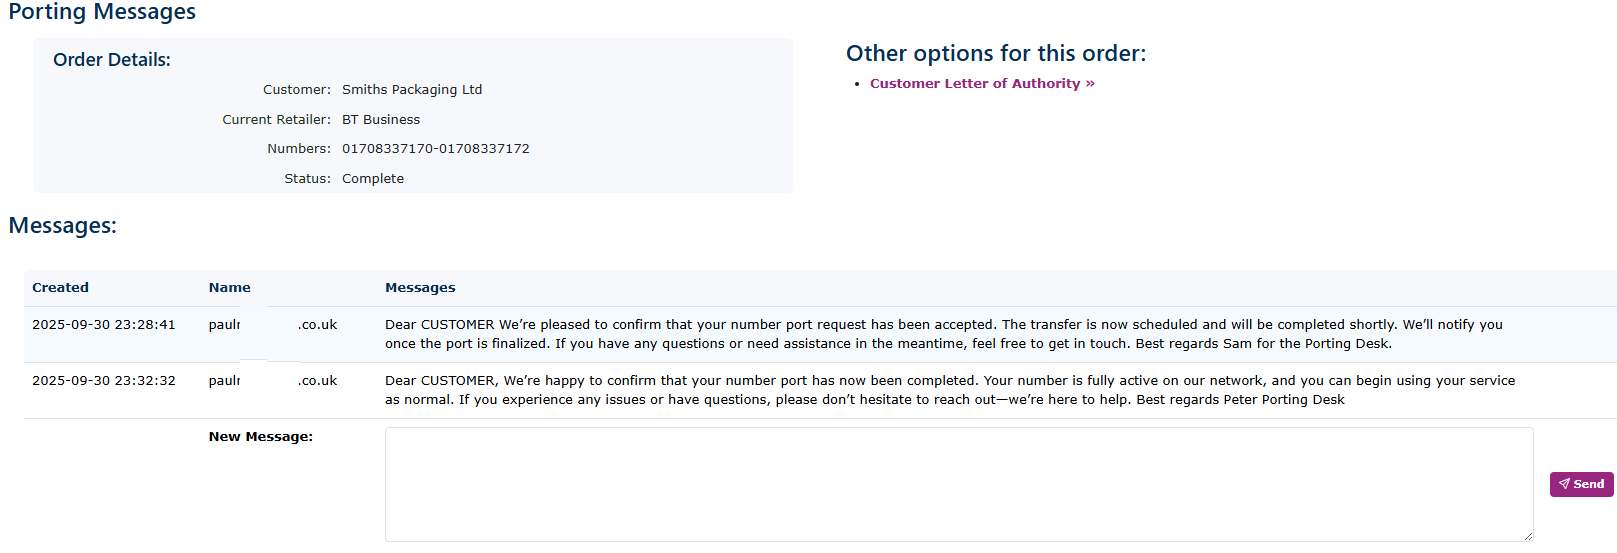
Finally, you will get the completion message to inform you the number has ported in. |
|
|
|
|