IVR Menus
Remember the PIN as this will be used to record the IVR message or you can upload a professional recording here.
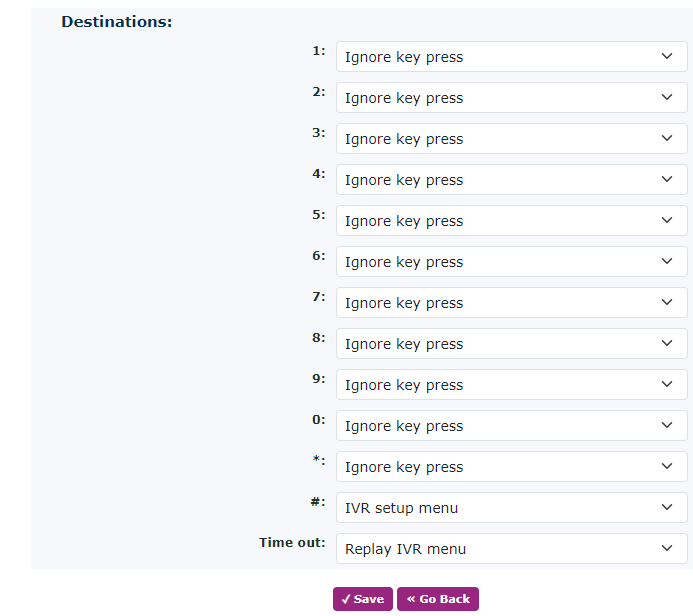
Return to the IVR and change the destination for each option.
After this, Point a Telephone Number to the IVR. You can then use this to call the IVR to set it up. If you have a handset configured and connected, you could set up a Feature Code as an internal number to call the IVR.
When you call the IVR, it will say you have these options and play 1, 2 (in this case above). What it doesn’t tell you about is the secret option. This is done to allow setup via a telephone handset. The hidden option is the hash (#) key. Press this when you hear the message, and it will take you to a voice-prompted message asking you to enter the PIN that is saved above. If you get this correct, it will play various prompts to help you record the IVR message that will play to the customers each time they call the number.
Once you have recorded the IVR message, hang up and call the number again to make sure you are happy with the recording.
Message File
This is the message played to the person entering the IVR. You can upload a WAV file here or use a pre-recorded sound file generated on the Test to Speech service.
 |
You can also copy the IVR using the make a copy option here.
You can also keep notes about the IVR here too. |


