Web Settings page
| To personalise and make adjustments to your MobeX Web application, click on your profile picture (avatar). |
|
|
|
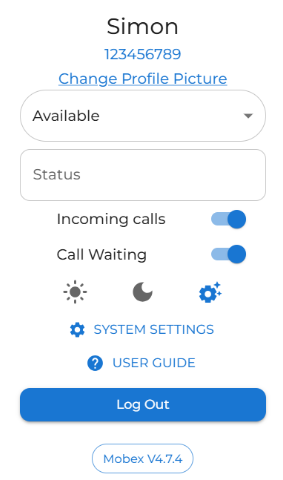
The quick change settings can be found on this screen.
To stop your MobeX Web app from ringing, switch off Incoming Calls.
To enable or disable call waiting, slide the call waiting switch
Use the toggle for both settings; grey indicates off, and blue indicates on. Just click to switch.
You can also fix your screen mode between light and dark by selecting one of the options. You also use system dynamic mode, which changes as your PC adjusts the screen's brightness between dark and light.
To change the default settings, click the settings cog to display more options.
|
|
Clicking the User Guide button opens the most up-to-date version of this manual, including setup instructions and feature guides. |
|
|
|
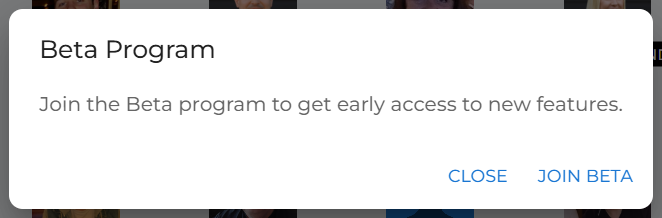
Clicking the MobeX Version button gives you the option to join the MobeX beta program, allowing you to access new features before they are released to the full production system.
|
|
|
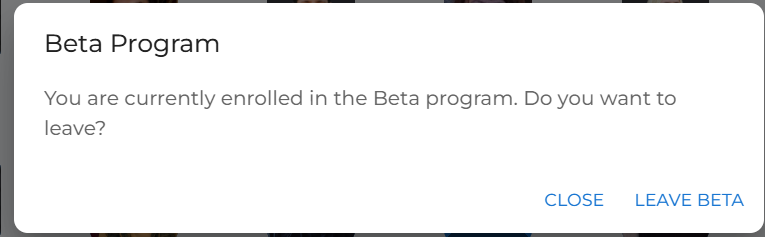
You can leave the beta program at any time by clicking the MobeX Version button and selecting Leave Beta. |
|
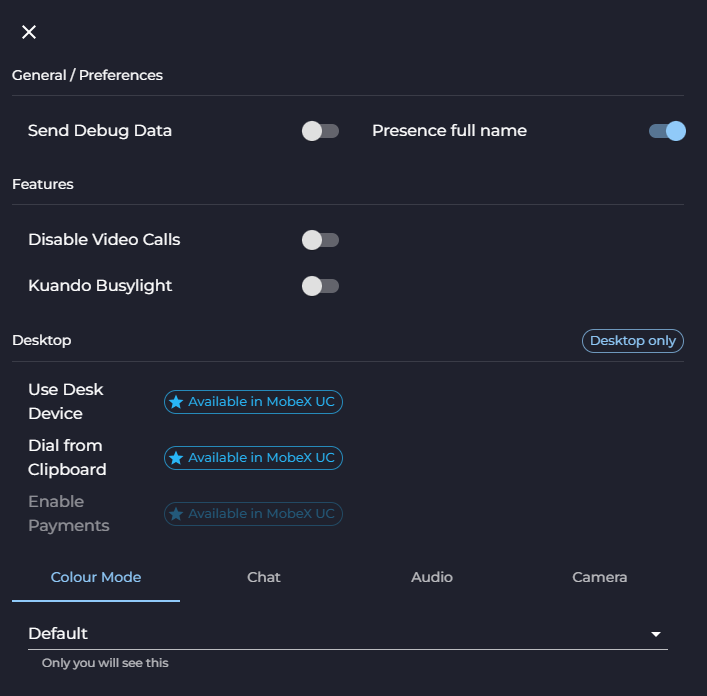
On the system settings page, you can select various options to enhance your user experience. |
|
|
|
|
|
General / Preferences
|
|
|
|
Features
|
|
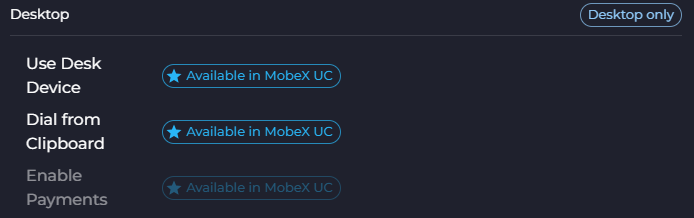
Desktop
This section refers to our MobeX UC application. The manual is available here, and the latest download is available here.
When you install this desktop application, you can unlock advanced features like operating with your desk phone for audio, clipboard dialling to copy and dial numbers straight from any other application and finally, automated stop/start call recording for when you are taking payments. |
|
|
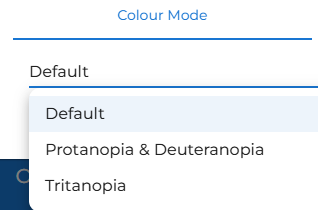
At the bottom of the settings page, you can make changes to the display colour mode (for colourblind people), Audio, and Camera settings. |
|
|
|
If you struggle with colours or are colourblind, you may find it helpful to choose one of our alternative colour modes. |
|
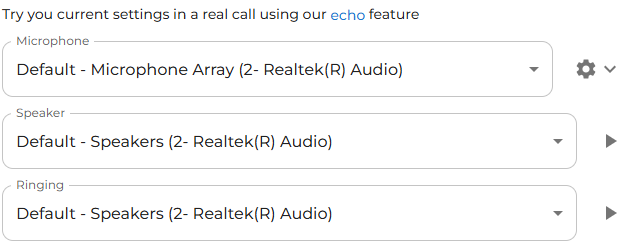
You can adjust the audio settings. There is also an option to test that the microphone you currently have set is working with the network. Press the echo test button featured above the current settings to start a call with the echo testing system. This will ensure you have audio from your mic, and it will also test your speakers, as you will hear the announcement first, then you will speak to test your own audio. |
|
|
|
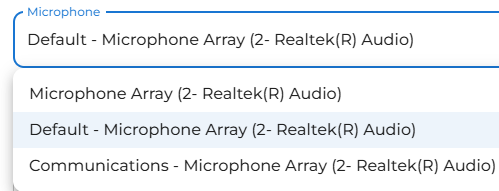
Microphone You can choose what device you would like to use as your microphone.
Please note that the default microphone will change if the PC uses other devices for microphone output as well. This may also change if the microphone is being used for other software apps. It is recommended to select a fixed microphone from the dropdown. |
|
Pressing the
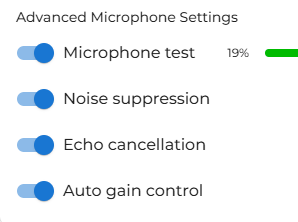
Microphone test You can toggle the switch to test the microphone. This is a great way to ensure you are using the correct microphone for the intended purpose. If you are using a headset, ensure you are using the headset's microphone rather than the microphone on your PC. This is a common issue that arises when experiencing problems with sound levels or quality.
Noise suppression Digital noise suppression can improve microphone quality in noisy environments.
Echo cancellation Digital echo cancellation could help reduce mic and speaker echo. |
Auto gain control Digital auto gain control may help in controlling the quality of the audio outputs. |
|
|
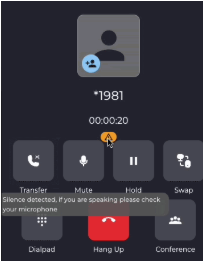
Real-time monitor By enabling this option, the system will check to see if it can still hear you. When you are on a call, if the MobeX UC detects that there ins't any noise heard from your mic, the you will see a warning sign appear in the call
|
|
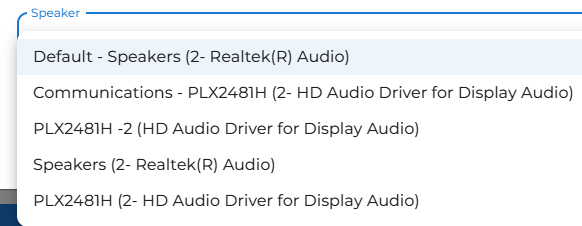
Speaker Output
Choose which device you wish for the audio sound to use. Again, it is recommended to select a dedicated speaker rather than the default as this will change if any of the default settings are changed. This is particularly useful if you are using a headset.
|
|
|
|
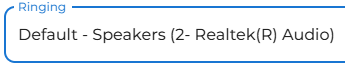
Ringing
You can choose a different audio output for the ringing tone to be played. This is particularly useful when using a headset, as it allows you to have the ringing playing through the PC speakers while the call audio is routed through the headset. |
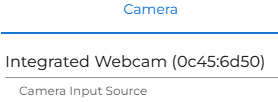
| You can choose which camera you prefer to use. This will be used for video calls, and if you wish to change your own avatar picture. |
|
|
|
You can log out by pressing the 'Log Out' button |