Custom presence boards
Custom presence boards are a great way to maximise the benefits of your MobeX Web client. You can create multiple boards to create different groups of people that you work with. You may want to put your entire sales team together on one board, and on another board, put all the administrative and accounts teams.
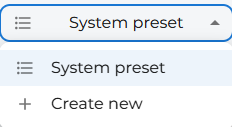
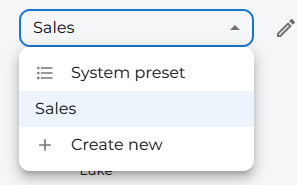
| To create a new custom presence board, click on the system preset dropdown box at the top of the page. | |
| Then click on the + 'Create New' | |
| Your window will then change to edit mode. The current preset of presence icons will be shown in front of you. You are not editing the system preset; you are creating a new board from the current list of avatars you can see. | |
| You can start with an empty board by pressing the 'Hide all buttons' icon. | |
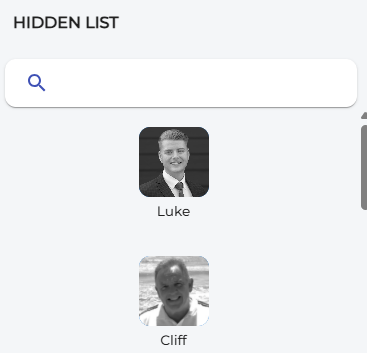
| This will remove all the picture avatars to the right-hand side and make them available in the hidden list for you to use. | |
|
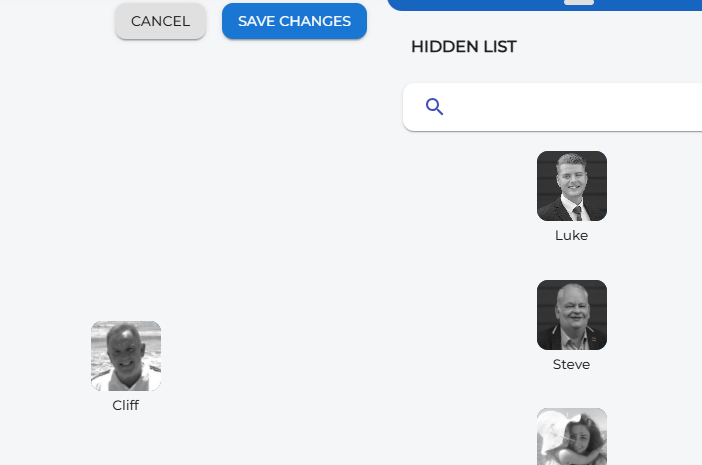
You can drag and drop the picture avatars to the left-hand screen to create your personalised custom board. |
|
|
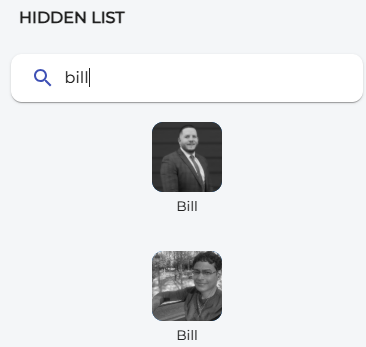
If you can't see the people in your hidden list (maybe you have too many avatars in your company). You can search the hidden list by typing the name of the person you are looking to add. |
|
|
Once you have the avatars of the team you want in your custom board, click the 'Save Changes' button. You can also cancel if you would like to start again.
|
|
|
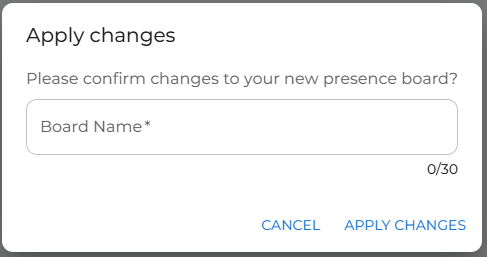
After pressing 'save changes,' you need to give your new custom board a name for ease of remembering. This custom board were for people in the sales team, so I'm going to call the board 'Sales'.
Then click 'apply changes' |
|
|
Your new custom board will now appear in the drop-down list of your boards. You can now switch your view from the system preset of presence avatars to any of the custom boards you have created. |


