
IVR Menus
To create an IVR menu, go to Features—IVR Menu, then press ‘New.’ Give it an appropriate name, such as ‘Main number IVR’.
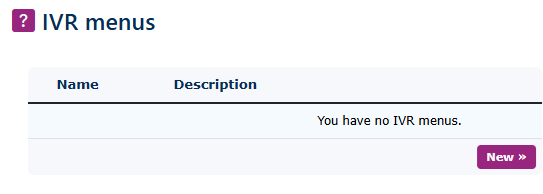
New IVR Menu
After selecting New, you will see the settings for the new IVR

Settings
|
Name: Set a name that you wish to give to the IVR |
 |
|
|
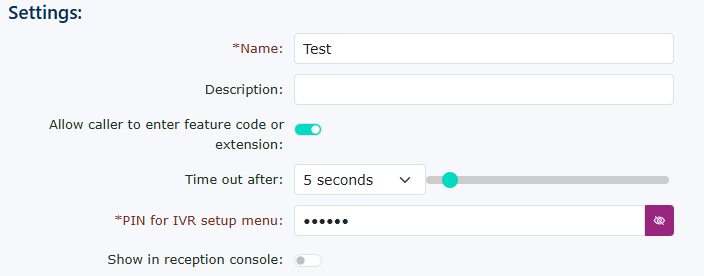
Description: You can add a description explaining what the IVR is used for, this is optional. |
|
Allow caller to enter feature code or extension: You can enable this if you want callers to
Note: We recommend using one of your destinations to be the way to dial through to extensions or feature codes. This speeds up Use Auto-Attendant with an announcement in a spare digit choice. Like number 9 |
|
|
|
Time out after: This is the waiting time the system will pause to see if any other digits are dialled. It works in conjunction with the feature, 'allow caller to enter a feature code or extension '. If this feature isn't enabled, the system will ignore this and route the call immediately to the chosen destination. |
|
Show in reception console: This allows the IVR to be shown in the portal operator console. |
|




Once set the settings options will look like this with the additional option of the IVR PIN. This is used when calling the IVR and setting up via the call.
Destinations

Key Options 0,1,2,3,4,5,6,7,8,9 & *
are set as ignore by default. You can choose to change these to anything you have avaiable within the system configuration. Keep in mind that unless a feature is enabled, you may not see it in the list. If you don't have Queues, then these will not be available.
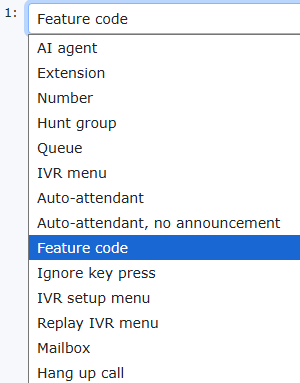

Once you have selected your option and saved the IVR menu, you can use the quick jump arrows to navigate to the destination for your IVR choice and make any changes there.
The # IVR menu option allows you to make changes to the IVR via a telephone call to the IVR. You will need to set up an external number or a feature code to call the IVR, then press the hash key to make changes.


PIN for IVR setup menu:
To keep the IVR secure. The IVR will require a 6-digit PIN. Press the password viewer icon to see your PIN. It is not recommended to make this an easy PIN. This is to prevent fraud.
Time out:
The time-out option works with the 'time out after' parameter in the settings above. The default is 5 seconds.

Greeting
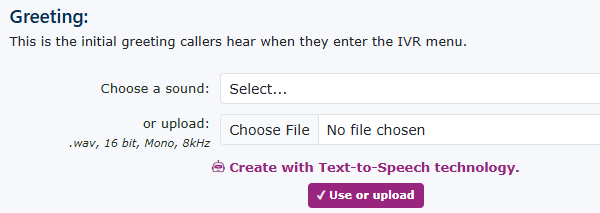
Remember the
Choose a professional recording here.
sound:

Return to the IVR and change the destination for each option.

After this, Point a Telephone Number to the IVR. You can then use this to call the IVR to set it up. If you have aany sound files saved in the handsetsounds file configuredsystem andon connected,the portal, you couldcan setchoose up a Feature Code as an internal numberone to callplay to the caller when they reach the IVR.When
call
There is the secret option. This is done to allow setup via a telephone handset. The hidden option is the hash (#) key. Press this when you hear the message, and it will take you to a voice-prompted message asking you to enter the PIN that is saved above. If you get this correct, it will play various prompts to help you record the IVRdefault message that will play toif you don't save a new recording.
The default message is.
You have these options: 1, 2, 3, 4 (depending on the customersnumber eachof time they call the number.Onceoptions you have recorded the IVR message, hang up and call the number again to make sure you are happy with the recording.
set)
Message File
This is
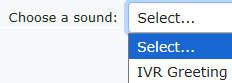

Or Upload:
You can upload a file directly from your PC; just be sure it is in a compatible format. A WAV file, 16-bit, mono, and 8 kHz
Create with Text to Speech technology:
You can also use the text-to-speech system to generate a new sound file herefor you to play when callers reach the IVR menu.

Once a sound file has been saved, the Greeting options will look like this, with options to be able to play the file back to you via your PC or phone.
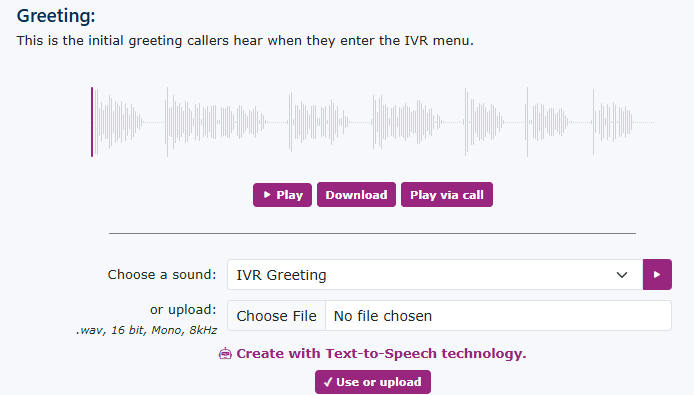
Play button:
You can press the play button to play the sound file through your PC speakers.


Pause:
When the recording is playing, you can use athe pre-pause button to stop the recorded sound file
Sound file audio wave:
You can use your mouse to fast-forward and rewind the Testplayback toposition Speechof service.the sound file.


Download button:
You can download the file to your PC.
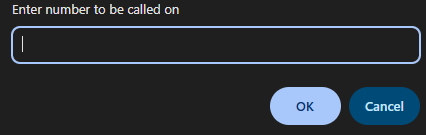
Play via call:
You can listen to the sound file via a device by entering the number here; choose your extension number or an external number like your mobile.

Other options for this IVR Menu:
 |
You can also copy the IVR using the
You can also keep notes about the IVR here too. |