Times and Dates
Time and date routes can be found on Features—Times and Dates. This can automate some system changes based on times and dates. The options can be very flexible and set up to suit most if not all, circumstances.
As an example, we will use the below as our guide.
This business opens at 8 a.m. and closes at 5.30 p.m. They also close on all national bank holidays for England & Wales. Outside these hours, it would be preferred for all calls to go to a different destination. You can do this using the times and dates feature. Go to Times and Dates and press ‘new.’

Time Group Settings
Name
Give it an appropriate name to help you understand what you are selecting when you select this time and date for Numbers or Feature Codes.
Description
If you need more information about the time group, you can enter it here.
Priority
Set from 1 being low to 10 being higher priority
Active When
You have two choices here. The default is ‘Any time period below is active,’ or you can change it to ‘None of the time periods below are active.’ We recommend using the default, as it’s easier to follow when setting up and diagnosing issues.
Don’t forget to click save

| Once you have pressed save, you need to add the time periods during which this time group will be active. If you see this screen, click 'Add a new time period'. |  |

Or click on ‘New’ in the time periods section and select all that's required for the time period.
|
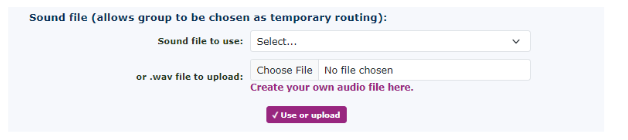
Adding a sound file allows a person to hear which time group they are activating when using the numbering menu. This plays the audio to the person setting this time group to a number or a feature code. |
 |


When you create the time period, you need to do this in time chunks. For example, to cover the morning before opening, this needs to be its own time chunk.
Time Period Settings
Name
Please give it a name that has a good meaning for the setup.
Description
You can add a description to provide more information about this setting if needed.
When the Time Period Starts and Stops Each Day
Start Time
The time this time chunk will start
End Time
The time this time chunk will finish
Which Days the Time Period is Active
Days of the Week
Choose the days this time chunk will be active in. You can select multiple days here.
Days of the Month
Choose the days of the month. This time chunk will be active. You can select multiple days here, too.
Months
Choose the months this time chunk will be active in. You can select multiple months here.
Years
Choose the years this time chunk will be active in. You can select multiple years here, up to 21 years in advance.
Once completed, you can apply this time group with the time periods (chunks) to to Numbers or Feature Codes.
Applying the Time and Date Groups to Destinations like Hunt Groups, IVRs and Queues
As mentioned above, time and date groups can only be applied to to Numbers or or Feature Codes. So, if you want to use this new time group, we can create a a Hunt Group during office hours and then an an IVR for out-of-hours service; you need to do the following.
The office has a main inbound number, so this would be an excellent place to apply the time group. Click on Numbers on the left-hand side menu under Features. Find the the number you wish to apply to the time group. Scroll to the bottom right of the page, and you will see time routes.


Time Group Settings
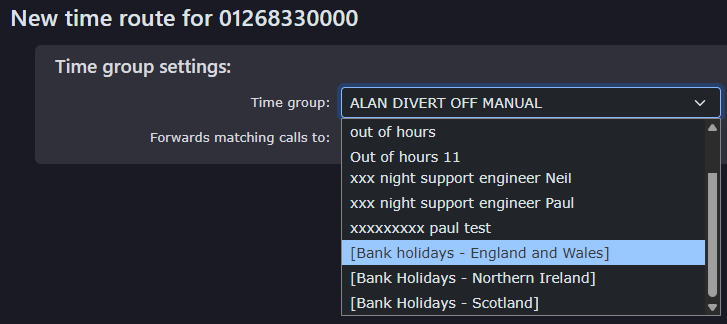
Time Group
Find the time group you just created and apply it here.
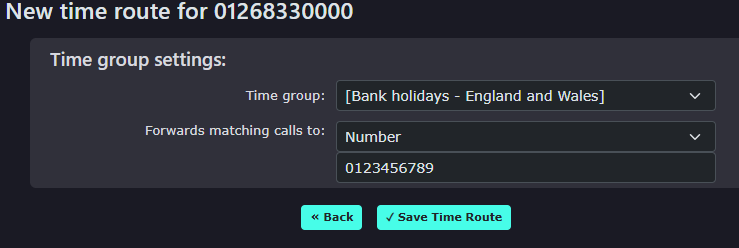
Forwards Matching Calls to
Here, you can enter the new destination you would like to apply during these time periods.
You can apply multiple time groups to the same Number or Feature Code if if you have a bank holiday time group. You can set this to be a higher priority so that it overrides any other time group in the same number.

Other Options - Time Routing Wizard
| You can find the Time Routing Wizard at the top right-hand side of the portal ( |
|
|
|
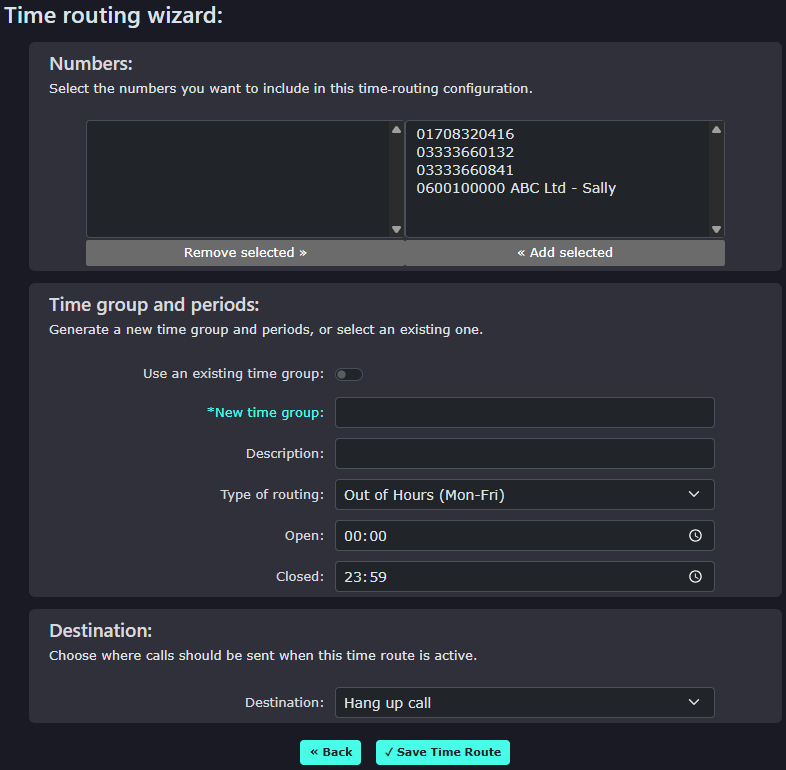
When you click the link, it will take you to the wizard. There is a description in each section to help you through setting up a time group.
The Time Routing Wizard gives you a quick, hassle-free way to set up "out of hours", "fixed period" or "manual routing" by automatically creating the required time group, time periods, and building the routing for all selected numbers. |
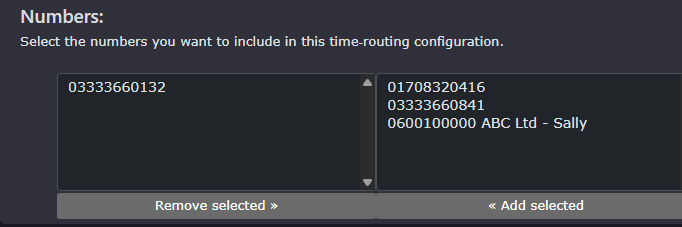
| Add the numbers you want the time group to affect. |
|
|
|
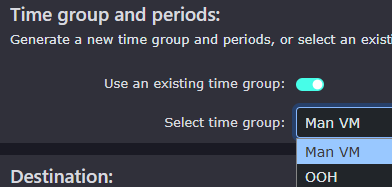
You can use the slider to add to an existing time group |
|
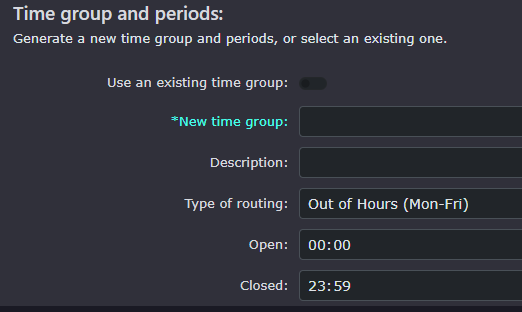
Or you can create a new time group using the following settings.
Give your new time group a
|
|
|
|
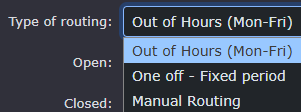
Then choose the Type of routing, such as out-of-hours for Monday to Friday, a one-off fixed period, or a manual routing option. |
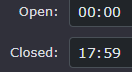
| Then add your opening and closing times |
|
|
|
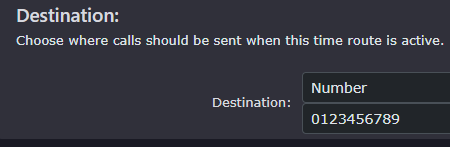
Finally, add the destination you want the location calls to go to in the out-of-hours operation. |
Copying the System Time Groups
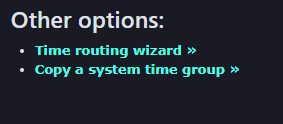
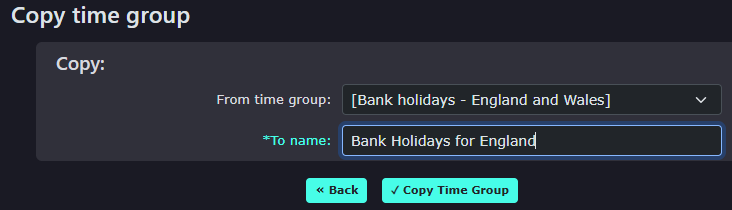
| Under other options, you can copy the system time groups to use for this account. Keep in mind that once you copy them over, you are taking a snapshot of the current date and times set, and no more will be added unless you add them yourself. |
|
|
|
Select the time group you wish to copy, give it a name that will help you identify its use and click 'copy time group' |
|
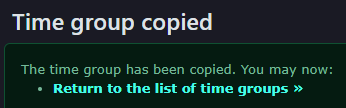
Return to the list of time groups and you will see the new one appear.
|
|
|
|
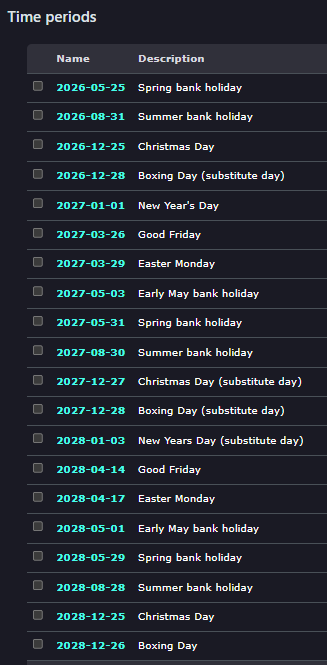
You can then click on the time group to see the time periods it has created for you. |
| The copy will cover |
|

Using the system time groups
| The other option, instead of copying over the system time group, is to use the time group that the network operator keeps up to date. This can be done by simply selecting the time group in Numbers or Feature codes and adding the particular time group that relates to the time period you require |
|
|
|
At the very bottom of your own predefined time groups you have already created, you will see the additional system time groups. Select the one you require and the destination of the out-of-hours service feature you would like to select. Then click Save Time Route. |
|
|