Widget Wallboards
Widget Wallboards
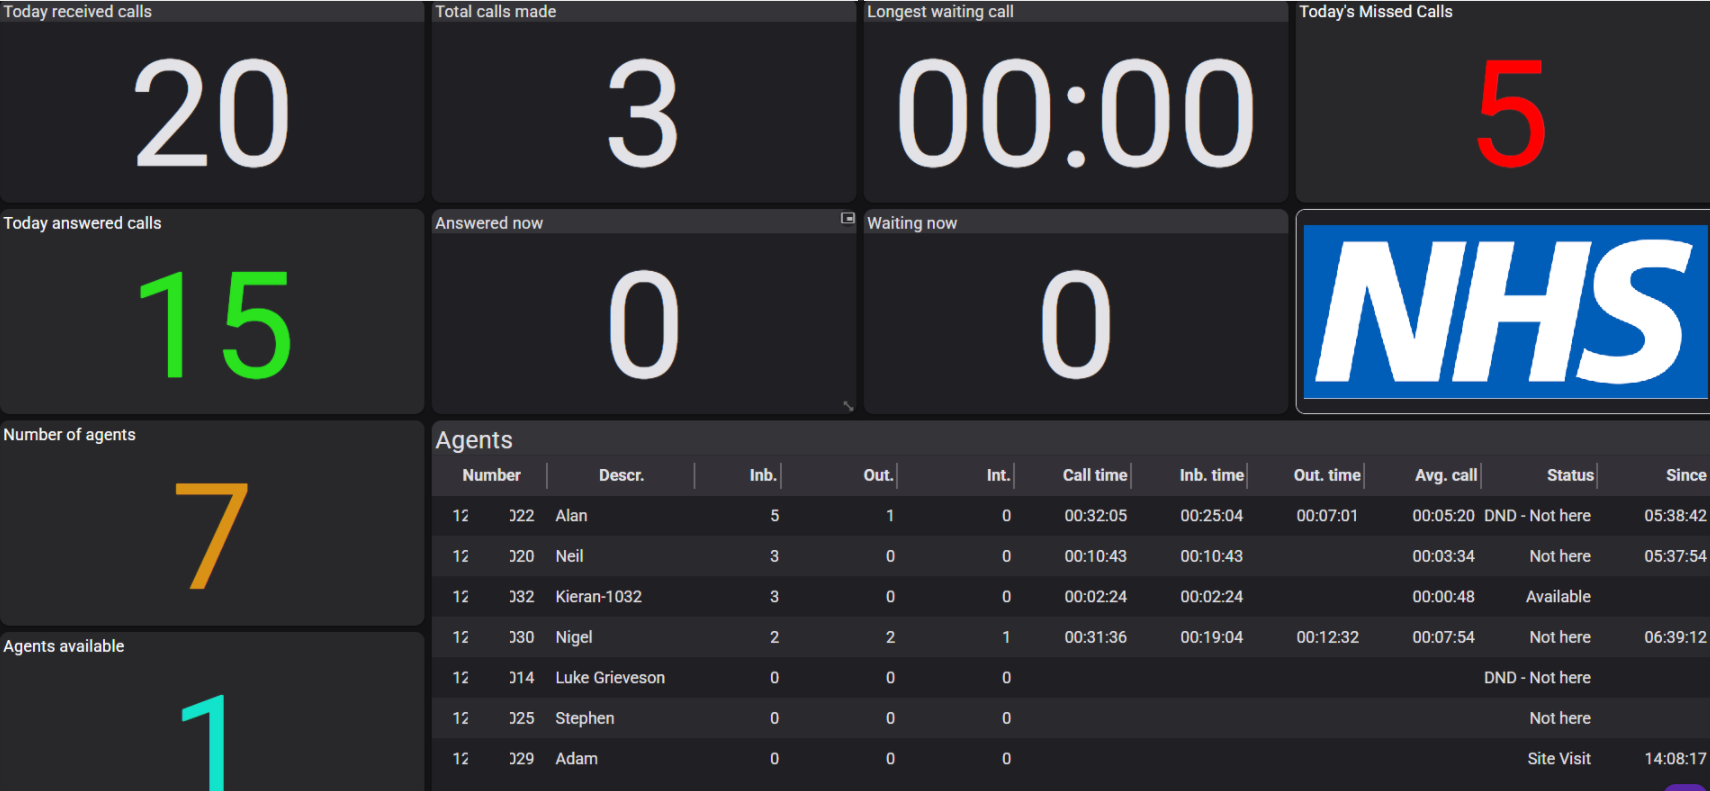
Here, you can build a customised wallboard to display a wide range of information about calls on your system, both current and historical. These are great for call centres and call centre managers to see exactly what is going on with their day-to-day live call statistics. Managers can track answered calls, available agents, and overall performance.
|
Widget Wallboards can be found under Reports - Widget Wallboards. To create a new wallboard, click the right-hand button ‘NEW.’ |
 |
|
|
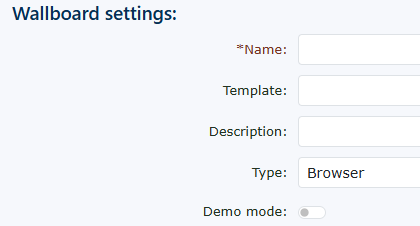
Wallboard Settings Name Description |
| Demo mode You can select ‘yes’ or ‘no’. If you select ‘yes’, you will not be charged for the wallboard, and the wallboard will use dummy data for each widget you have added. This is only to see if the wallboard provides you with the required information before committing to a wallboard. By selecting no, the widgets you select can be populated with real information from your telephone service. |
|
|
|
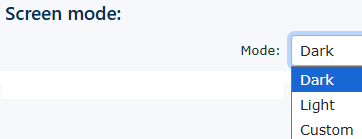
Screen mode There are 3 options. Dark, light and custom. Dark mode makes all the screens and widgets you use ‘dark’. This makes it easier for the eye to see in low-light rooms. The light mode makes all the screens and widgets very bright. If you display the wallboard in a very well-lit room, this mode could be used. |
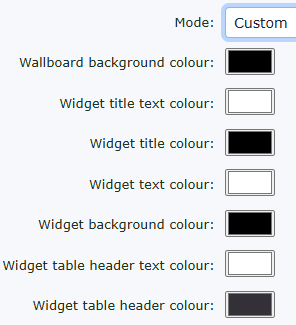
| Custom allows you to design your own background colour, widget title text colour, widget title banner colour, widget text/number colour and widget background colour, allowing complete customisation of the wallboard. |
|
|
|
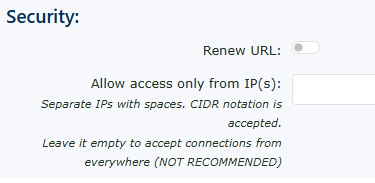
Security Renew URL Don’t forget to click Save once your wallboard is ready to create widgets. |

|
|
Once you return to the wallboard you have built, you need to add widgets to display the information you want to see.
Click Add Widget on the right-hand side. |

New wallboard widget
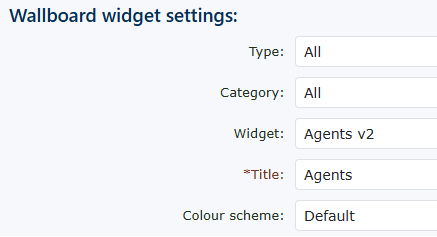
When you open a new wallboard widget, you are first presented with ALL widget types, and you can browse them.
|
Type You can choose a different type or group of widgets. The widget choices are all: chart, image, list, Number, table, text, or time. Choosing one will reduce the choice to just the table-type widgets. If you pick this |
|
|
|
Category You can choose a category to further narrow your options and find the right widget for you. The choices here are all calls or other. |
|
Widget All the widgets are available in the type or category you have chosen above. If you have left the type and category set to all, then you can see every widget available on the system. The choices you have are: |
|
|
There are many widgets to choose from to help show activity on your telephone system. |
|
|
|
|
|
Title |
|
Colour scheme |
|


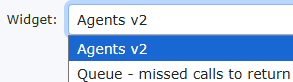

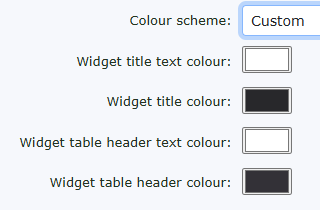
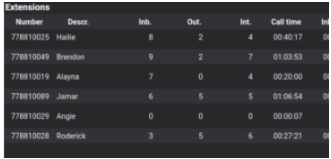
Some examples of these widgets are shown below.







More about widgets
Depending on the type of widget you select, you will see more options to choose from.
All of the options are pretty straightforward to understand. If we look at the Widget—Customer’s active calls—you can choose from all calls, inbound, internal, or outbound. You could then, if you wish, create four individual widgets showing inbound, outbound, internal, and all calls.
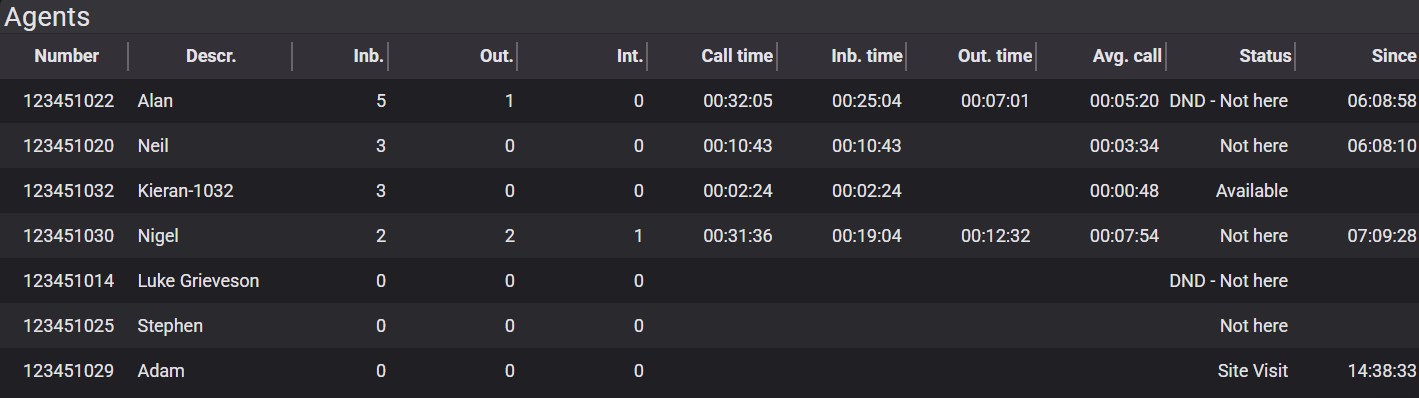
Queues - Agent v2
This is a big widget. It will provide a lot of information about the agents in the Queues, making it a very powerful tool for understanding your agents.
Parameters
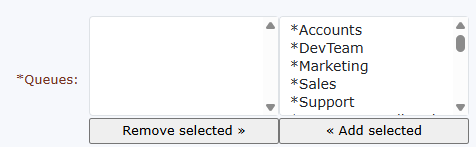
| Queues You will see all the queues you have available in the system. You can select the queues you wish to monitor, then move them to the left column. |
|
|
|
Columns
|
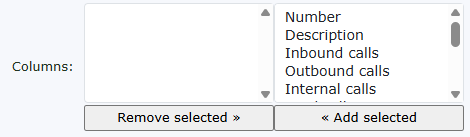
| Something to note about the columns: you can now make the column widths as wide or as narrow as you like to create more space. |
|
|
|
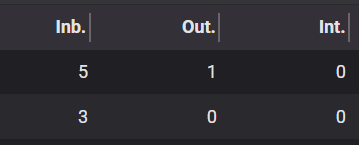
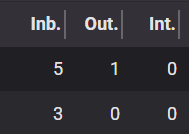
You can see here that the inbound, outbound, and internal call columns have been moved in to create extra space.
You must press the |
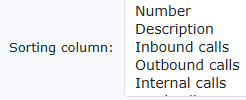
| Sorting column This is how the columns for the agents will be sorted. Select inbound calls for this section to see how many inbound calls the agents have answered. |
|
|
|
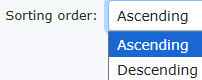
Sorting order You can choose if you want to order Ascending or Descending. |
| Show only available agents. If you have many agents and limited screen space, this is a great way to show only those agents who are ready to receive calls. |
|
|
|
Only display calls that haven’t been answered |
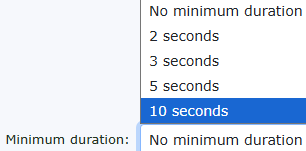
| Minimum duration If you are monitoring calls and consider calls less than 2, 3, 5, or 10 seconds not to validate as a call, then you can select this to show when agents speak to someone rather than just get a short voicemail, and this call counts towards any targets. |
|



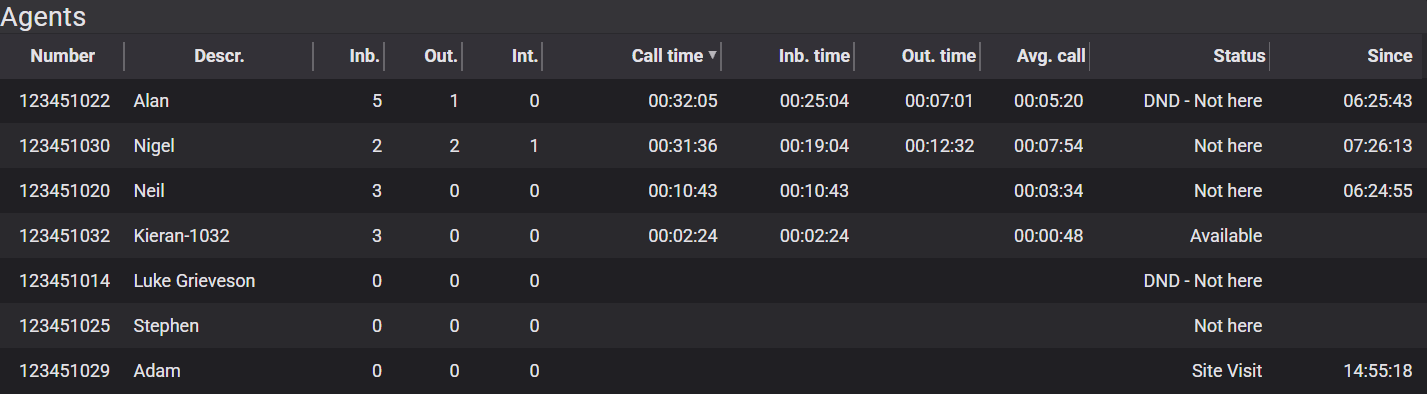
The wallboard you have created will look something similar to the one above.
The Extension wallboard widget is very similar to the agent widget, but it focuses on telephone Extensions regardless of Queue settings.
Here are a few examples of wallboards you can create.

The dark mode shows many queue statistics.

Light mode again, showing agents and a logo.

A custom colour wallboard shows how flexible you can be with the colours. In this example, someone has gone mad!

Again, another custom colour wallboard demonstrates anything is possible.
Once you have created your wallboards, on the main wallboard page, you will see links to view them. Copy the link to open the wallboard you have created. The first view of the wallboard probably doesn't look how you would like it to. This wallboard can now be adjusted by dragging and dropping, stretching, and reducing each widget to give you what you would like the layout to look like.

Once you have moved your wallboard around to your needs. A small disk/save button will appear in the bottom corner of the right hand. Click this, and it will save your layout. Please remember, if you make a change to the wallboard. Add or remove widgets. You will need to layout your wallboard again.

RSS Feeds for wallboard
You can create live content for your wallboard using an RSS feed.

|
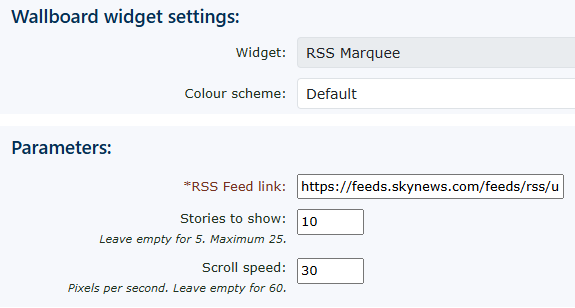
You can choose RSS Marquee, which allows you to scroll in a line |
|
|
|
Choose the RSS Marquee widget. You can change the colour scheme if you wish.
In Parameters. Enter your RSS feed website details (URL) You can choose to show however many stories you wish, from 5 to 25
Then, finally, the scroll speed of the RSS feed. |
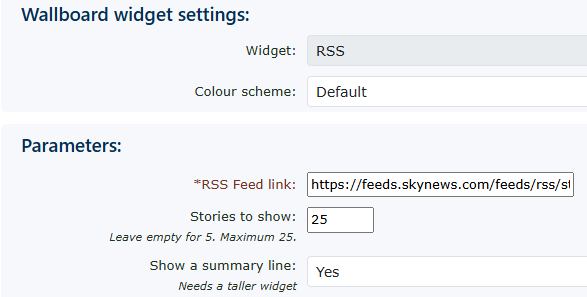
| You can also choose the standard RSS feed layout style. | 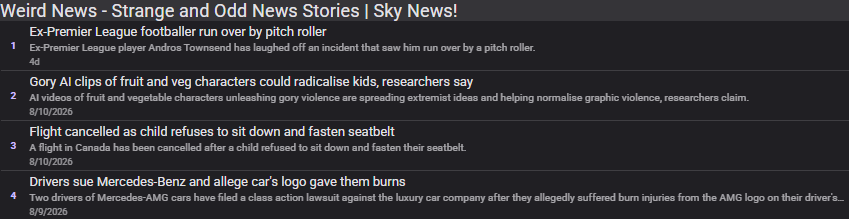 |
|
|
Choose the RSS widget. You can change the colour scheme if you wish.
In Parameters. Enter your RSS feed website details (URL) You can choose to show however many stories you wish, from 5 to 25
You can also choose to show a summary line of the story. |