Setting up MobeX inside Microsoft Teams
|
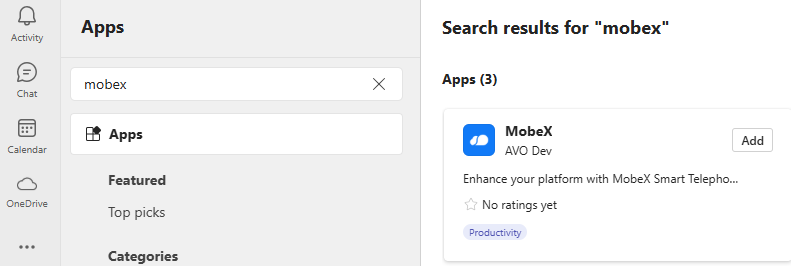
How to find MobeX 4Teams Open Microsoft Teams and go to the App marketplace. Search in the marketplace for “MobeX” and you will find the MobeX 4Teams App. |
|
|
|
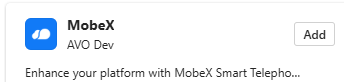
Click on the Add button to install the app. |
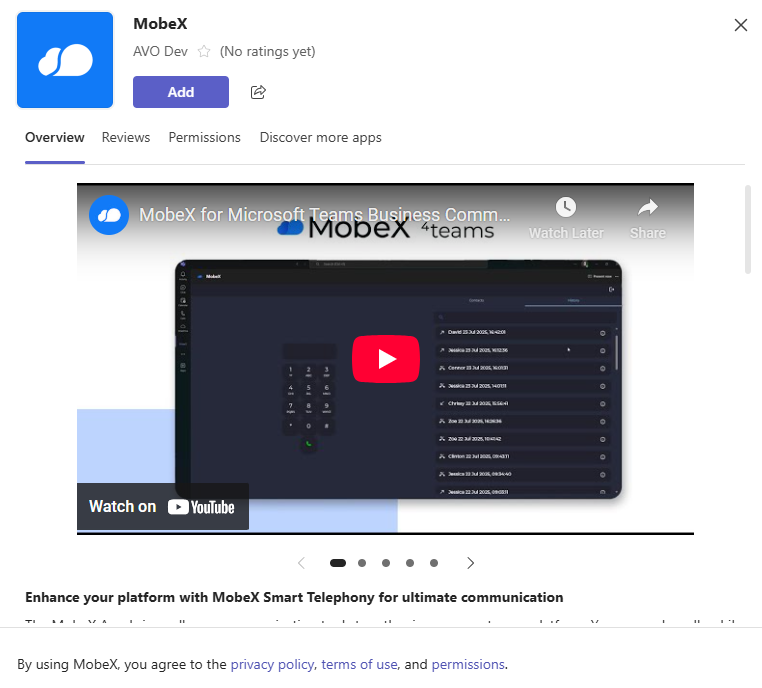
| Then, click Add again in this window. |
|
|
|
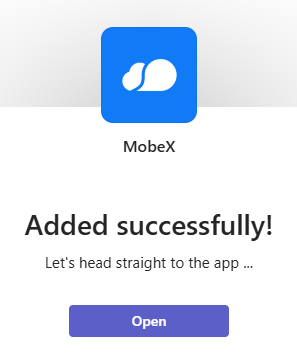
Once completed and installed, this success message will appear. Click "Open" to go directly to the app. |
|
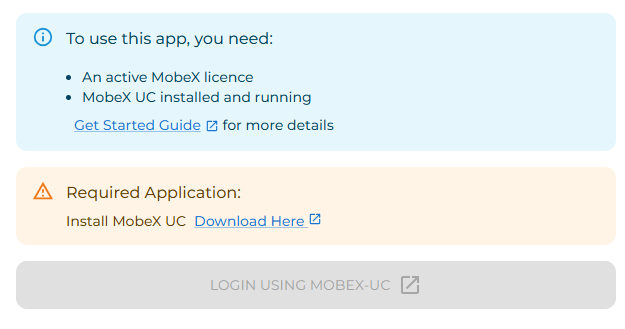
When you open the app, it will run checks to ensure you are ready to proceed.
To use the MobeX 4Teams app, you must have a valid MobeX UC licence. If the MobeX UC desktop application isn’t installed, you will be prompted with a link to download the latest version.
|
|
|
|
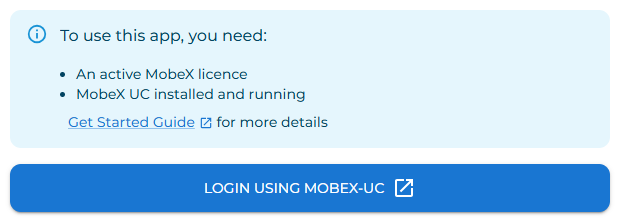
Finally, once everything is installed and you have a valid MobeX licence, click the “Login using MobeX-UC” button and you are good to go. |
Pin MobeX to the menu bar
|
As MobeX will become a frequently used app, you can benefit by pinning it to the menu bar on the left.
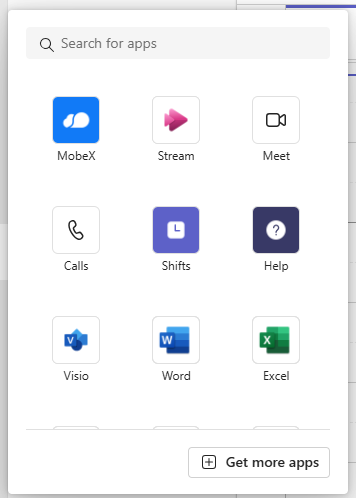
Click on the three dots at the bottom of the menu bar. |
|
|
|
The pop-up window will display additional apps. |
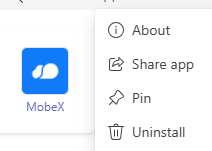
| Find MobeX and right-click it. Then select 'Pin' |
|
|
|
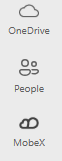
This will then fix your MobeX app icon to the menu bar for easy access. |