
Custom presence boards

Custom presence boards are a great way to get the most out of your MobeX web client. You can create multiple boards to create different groups of people that you work with. You may want to put your whole sales team together on one board and in another board put all the admin and accounts team.

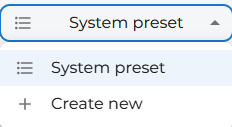
To create a new custom presence board, click on the system preset dropdown box at the top of the page.

image.png

image.png

Then click on the + 'create new'
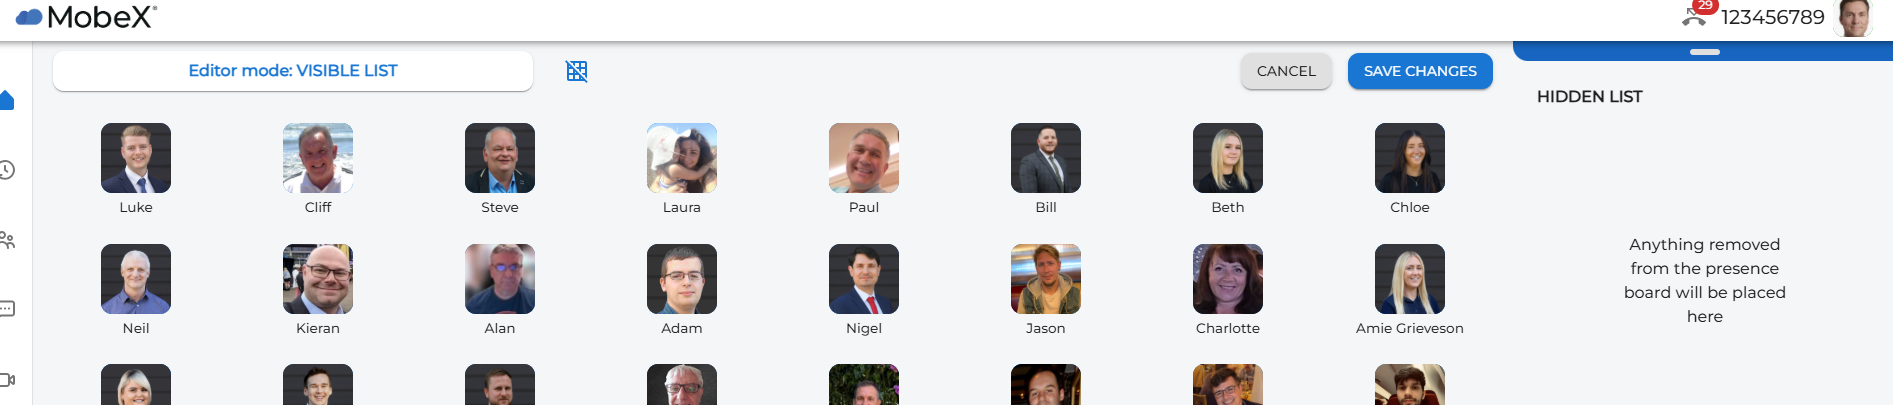
Your window will then change to edit mode. The current preset of presence icons will be shown in front of you. You are not editing the system preset; you are creating a new board from the current list of avatars you can see.

image.png

image.png

You can start with an empty board by pressing the 'Hide all buttons' icon. This will remove all the picture avatars to the right-hand side and make them available in the hidden list for you to use.


You can customise your presence screens or create new presence boards by selecting this icon in the middle.

image.png

Select Create New at the bottom of the list to build your custom presence board.


image.png

Your screen will then present you with the system presets, current presence and speed dial buttons. From here, you can begin to edit your board. You will see the edit box at the top left side, which shows that you are in edit mode.

image.png


You can clear the complete board by selecting the hide all icons button.

image.png

image.png

Or you can delete them one by one. Simply click on the eye icon next to each name.

image.png

When you remove people from your new custom presence board, they will appear in the ‘Hidden List.’ You can also add them back at a later date. If you have a long list of people removed, you can utilise the search bar at the top to quickly locate and re-add those you wish to restore.

Drag and drop your icons

Rearrange your presence icons to suit you. You can do this by clicking and dragging your presence icons to your desired position. You can also move icons between the visible and hidden lists by dragging them accordingly.

image.png

Once you are happy with your new layout, the final step is to give your new custom board a name and click save.


image.png

Enter the new name of the board and apply the changes.

Note: We suggest using a board name that reflects the group's purpose, so it’s easy to recognise in the list.

image.png

image.png

It will now appear at the top of the list in the drop-down presence selection window.

If you want to edit any custom presence boards, click on the pencil next to the selected board.

Please note, the System preset can only be administered by the service provider or an administrator with portal access.

image.png

image.png

Press the pencil to delete the custom presence board. The bin icon will appear at the top. Click it to delete it.

A notification box will appear, providing you with a final opportunity to either delete or keep it. If you choose to delete it, click Yes, and the board name will be removed from the drop-down list.

image.png