Agents
AI agents normally involve a fair amount of programming and tweaking. Because we have already done the hard part of embedding the Agent directly into the system's core network, the clever stuff is already set up and ready to roll out as soon as you set some basic information for the Agent.
Agent initial setup
|
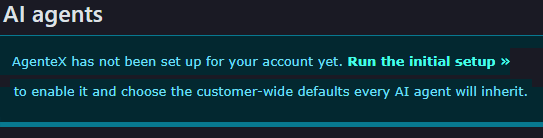
When you first enter the Agent screen, you will be required to set up basic customer information.
Click on 'Run the initial setup' to complete this process. |
|
Customer Defaults
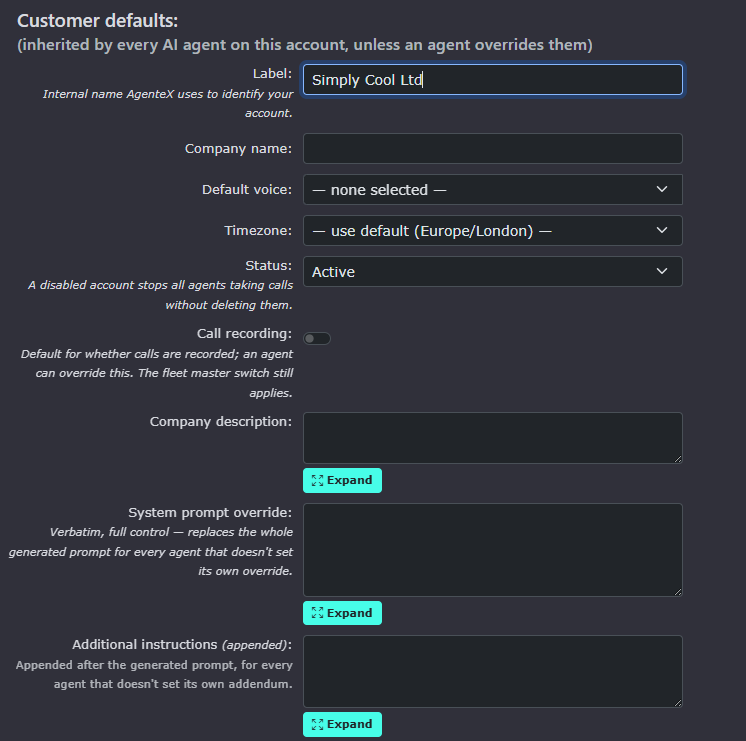
| These settings will become the default for all agents built on this customer's account. Agents can override these defaults by selecting their own settings. |
|
|
|
This is the name of the customer's account and is only used for reference. |
| Company Name is the default name the agent will use when greeting a caller. It is worth remembering to write the name as you want it said. So in this case, Simply Cool Ltd should be written as Simply Cool Limited to stop the agent spelling out L T D as individual letters. This, of course, is easily changeable, so you can adjust it as you go along to get the best results. |
|
|
|
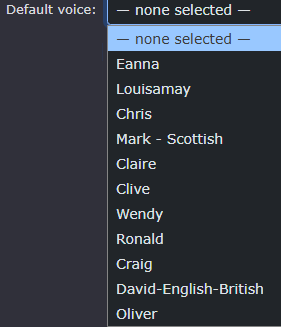
The Default voice will be used by all agents if no voice is selected on a per-agent basis. There are many to choose from. |
|
When you have selected a voice, a play |
|
|
|
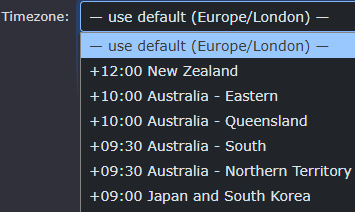
Timezone works with your default business hours and helps agents understand the time. The default for the system is Europe/London GMT, but you can select other time zones if need be. |
| This enables or disables all agents on the customer's system and stops agents from taking calls. The default is 'Active' |
|
|
|
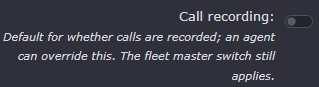
The call recording system will capture all calls made and received by the agents. It is on by default. |
|
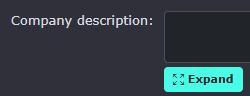
The company description is the set of details agents will use as background to help them understand what they should say when answering a call. This is particularly useful if the agent is working as a Receptionist.
The Expand button just makes the screen bigger so it is easier to read all the information provided in the company description |
|
|
|
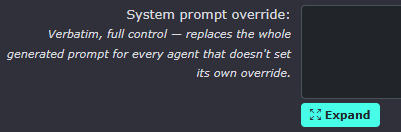
System prompt override. This will replace all the clever, predetermined network control over how the agent performs. These settings can be removed if any issues occur; however, we recommend trying the default system prompt first before overriding for all agents. This setting is recommended for expert setup only.
The Expand button just makes the screen bigger so it is easier to read all the information provided in the system prompt override. |
|
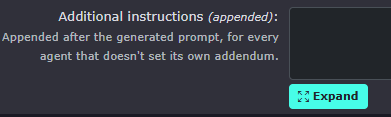
Additional instructions. These are appended to the default prompt. This is a good way to provide a bit more clarity on how you want the agent to respond or act.
The Expand button just makes the screen bigger so it is easier to read all the information provided in the additional instructions |
|






Default business hours
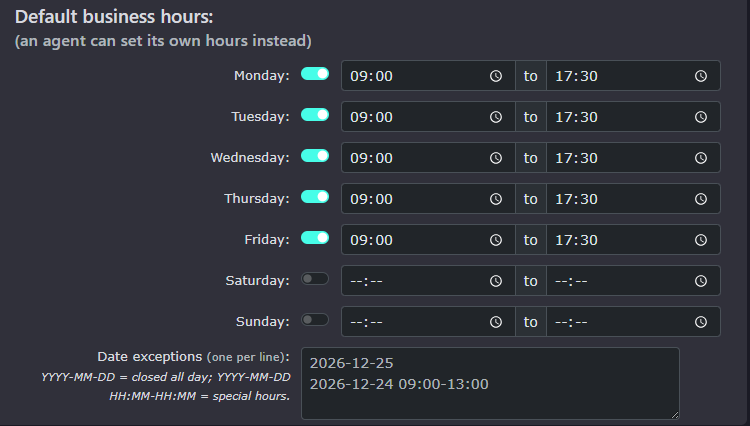
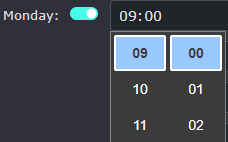
| The default business hours are the times you want agents to respond to calls during working hours. Outside these working hours, the agent may just take messages or simply say that you are closed. |
|
|
|
Toggling the switch to off will close your office for the day. |
| You can also add special days, such as bank holidays. |
|


Keep in mind that all these defaults can be overridden by any and all agents. This is to set up the most frequently used settings to make each agent's setup easier.
Final steps.
| Finally, click Enable and Save Defaults to complete the initial agent setup. |
|
|
|
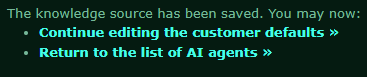
You can now return to the initial setup screen or return to the AI Agents list. |


Customer-wide knowledge sources
| You can also add some company-wide knowledge sources. The agents will use this to build their LLM (Large language model), which is basically an understanding of their role. Agents can 'absorb' a lot of information to use whilst a call is in progress. The agent doesn't really absorb and hold the information. The LLM provides the agent with instant recall of information when a question is asked. it is all about the information at hand for the agent to recall and project the information provided. |
|
|
|
Wow, that was a lot of words. The AI agent that will read this in the next 12 hours should blush when it knows I am talking about them/it. |
|
|
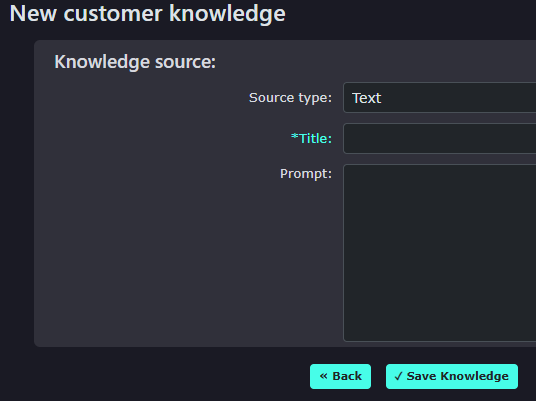
To start a new knowledge source, click on the new button. |
| You will now see the box with a few options. |
|
|
|
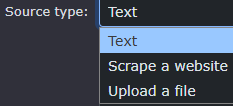
The source type
1. This can be simple text entered in the prompt box below. 2. Scrape a website will download information from a chosen website. 3. Upload a file like a PDF.
|
|
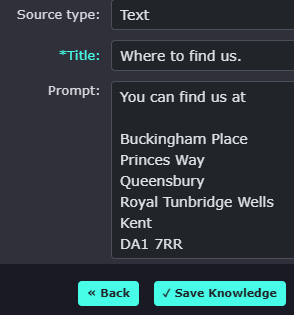
Text: This will be added to the LLM to help the agent locate the offices. |
|
|
|
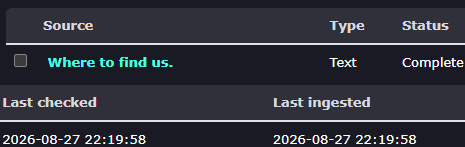
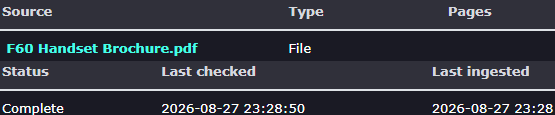
Once saved, you will see confirmation showing the text document name and the last time it was ingested into the LLM |
|
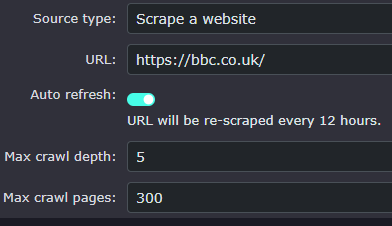
Scrape a website:
You can collect information from a website to build the knowledge base. Enter the website address, then select whether you would like the URL to be revisited every 12 hours to check for
|
|
|
|
The system will prepare itself to start collecting the information |
|
It will keep collecting page information until it either reaches its maximum request limit or has read every page of the requested website. |
|
|
|
Once completed, it will provide how many pages were collected, when it was last ingested and when it will run again. |
|
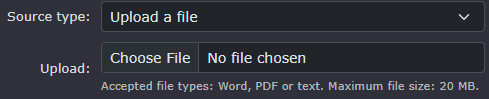
Upload a file:
PDF's, Word documents and text files can all be uploaded |
|
|
|
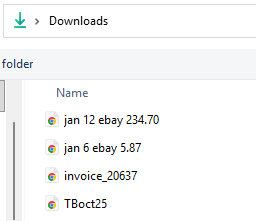
Clicking the Choose File button opens your PC's file system to find the document you want to upload. |
|
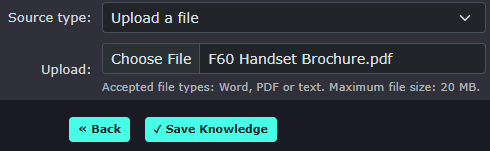
Once selected, press the |
|
|
|
Click on continue editing the customer defaults to see the knowledge base data again |
|
|
|